在macOS上使用VSCode调试NGINX”
下载Nginx源码
在 nginx: download 选择当前稳定版本下载
curl -OL https://nginx.org/download/nginx-1.22.1.tar.gz
tar -zxvf nginx-1.22.1.tar.gz
下载Nginx依赖
- PCRE rewrite 模块依赖
从 sourceforge 下载 pcre-8.45.tar.gz,和Nginx源码解压到同级目录。
- zlib gzip 模块依赖
curl -OL https://zlib.net/zlib-1.2.13.tar.gz
tar -zxvf zlib-1.2.13.tar.gz
curl -OL https://www.openssl.org/source/openssl-1.1.1s.tar.gz
tar -zxvf openssl-1.1.1s.tar.gz
修改默认配置
Nginx默认以 daemon 形式运行,会使用 double fork 技巧,调用 fork() 创建子进程并且把父进程直接丢弃,达到将 daemon 进程与会话的控制终端分离的目的。同时,Nginx 默认是多进程架构,有一个 master 父进程和多个 worker 子进程。为了调试方便,可以修改默认配置 conf/nginx.conf,关闭 daemon,并以单进程模式运行:
daemon off;
master_process off;
编译选项配置
使用 configure 命令进行相关编译参数配置:
--with-debug启用 debugging log--with-cc-opt='-O0 -g',使用-g包含 debug 符号信息,-O0标志禁用编译器优化--prefix指定安装目录--with-...指定依赖的源码位置
./configure --with-debug --with-cc-opt='-O0 -g' \
--prefix=./dist \
--with-http_ssl_module \
--with-pcre=../pcre-8.45 \
--with-zlib=../zlib-1.2.13 \
--with-openssl=../openssl-1.1.1s
编译和安装
make
make install
配置VSCode
首先参考 VSCode 官方文档,完成 VS Code C++ 开发环境的配置。
- 确认本机是否已经安装了 Clang 编译器:
# 确认是否安装了Clang
$ clang --version
# 安装开发者命令行工具,包括Clang、git等
$ xcode-select --install
完成C++开发环境准备后,使用 VSCode 打开 nginx 源码,点击菜单 “Run -> Starting Debugging”,在提示中选择 LLDB,创建出 launch.json,编辑该文件进行 debug 配置。将 “program” 设置为上一步编译出带有debug信息的nginx。
{
    // Use IntelliSense to learn about possible attributes.
    // Hover to view descriptions of existing attributes.
    // For more information, visit: https://go.microsoft.com/fwlink/?linkid=830387
    "version": "0.2.0",
    "configurations": [
        {
            "type": "lldb",
            "request": "launch",
            "name": "Debug",
            "program": "${workspaceFolder}/dist/sbin/nginx",
            "args": [],
            "cwd": "${workspaceFolder}"
        }
    ]
}
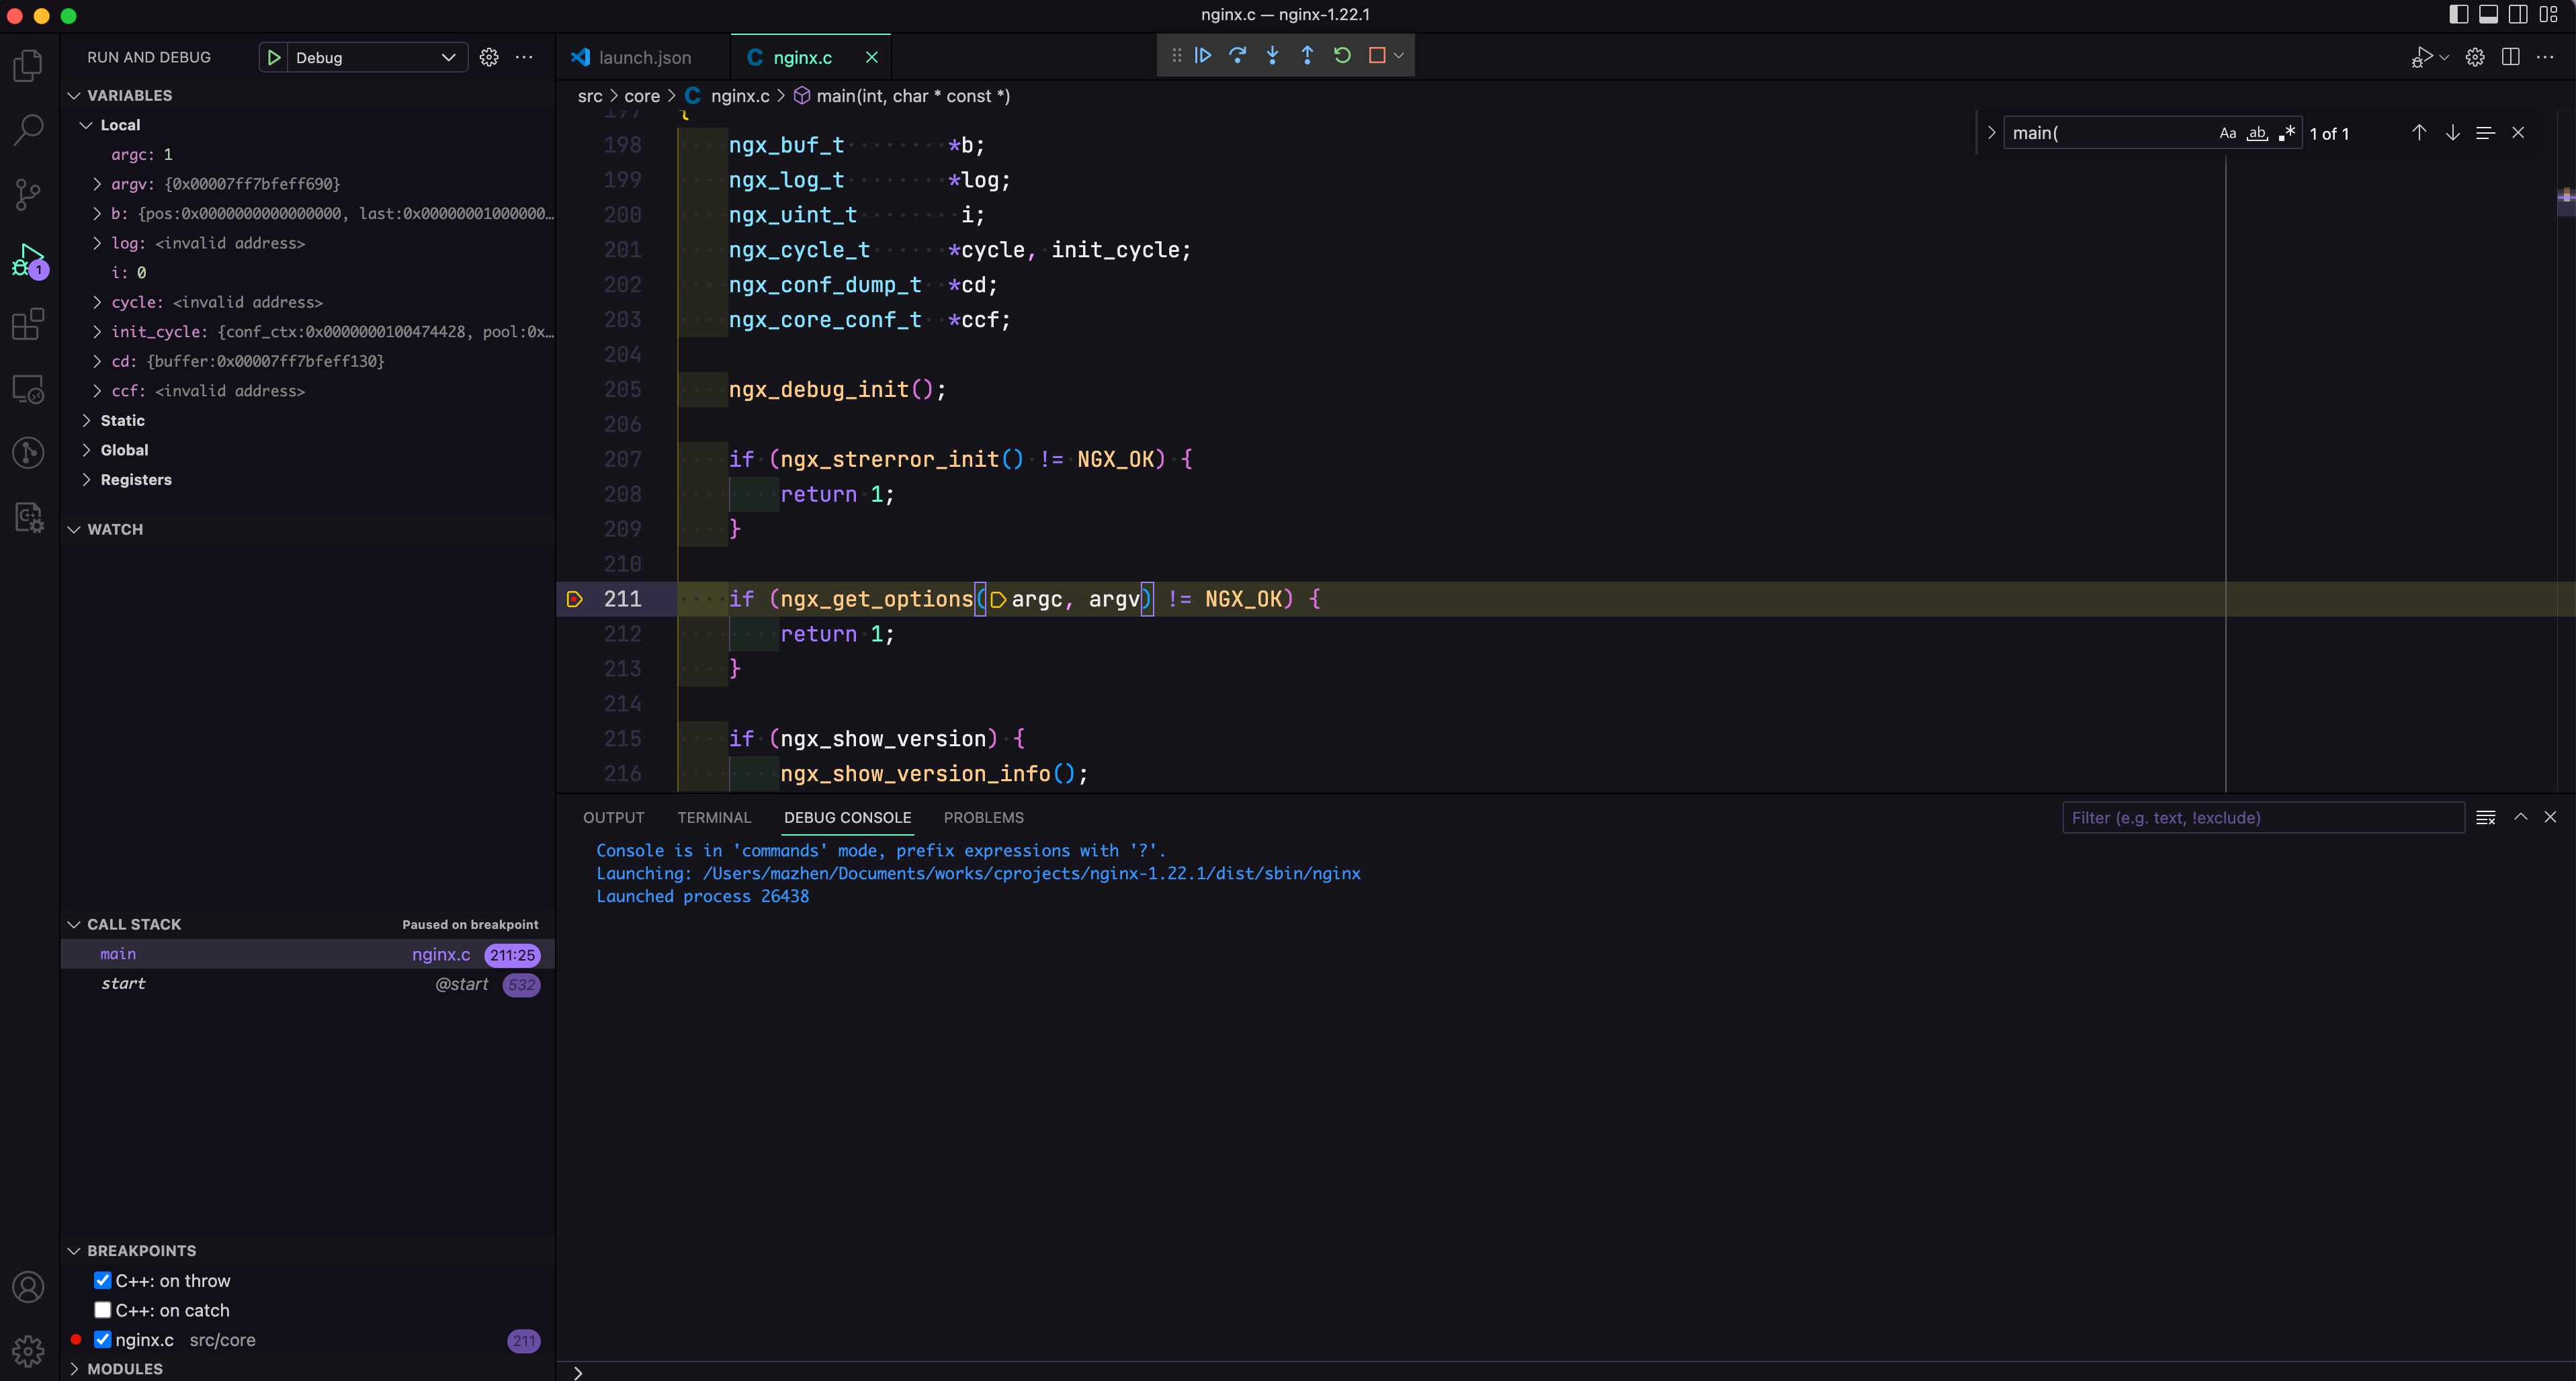
现在就可以在代码中设置断点,再次点击 “Run -> Starting Debugging”,开始调试 Nginx 吧。